Get Started with openstatus CLI
| Time | ~10 minutes |
| Level | Intermediate |
| Prerequisites | openstatus account, command-line experience, API token from your workspace (Settings → API) |
In this tutorial, you'll use the openstatus CLI to manage your monitors as code. This lets you version-control your monitoring configuration, automate deployments, and implement GitOps workflows.
By the end you'll have the openstatus CLI installed on your system, your monitors exported to a YAML configuration file, and a working sense of the monitoring-as-code workflow.
Installation
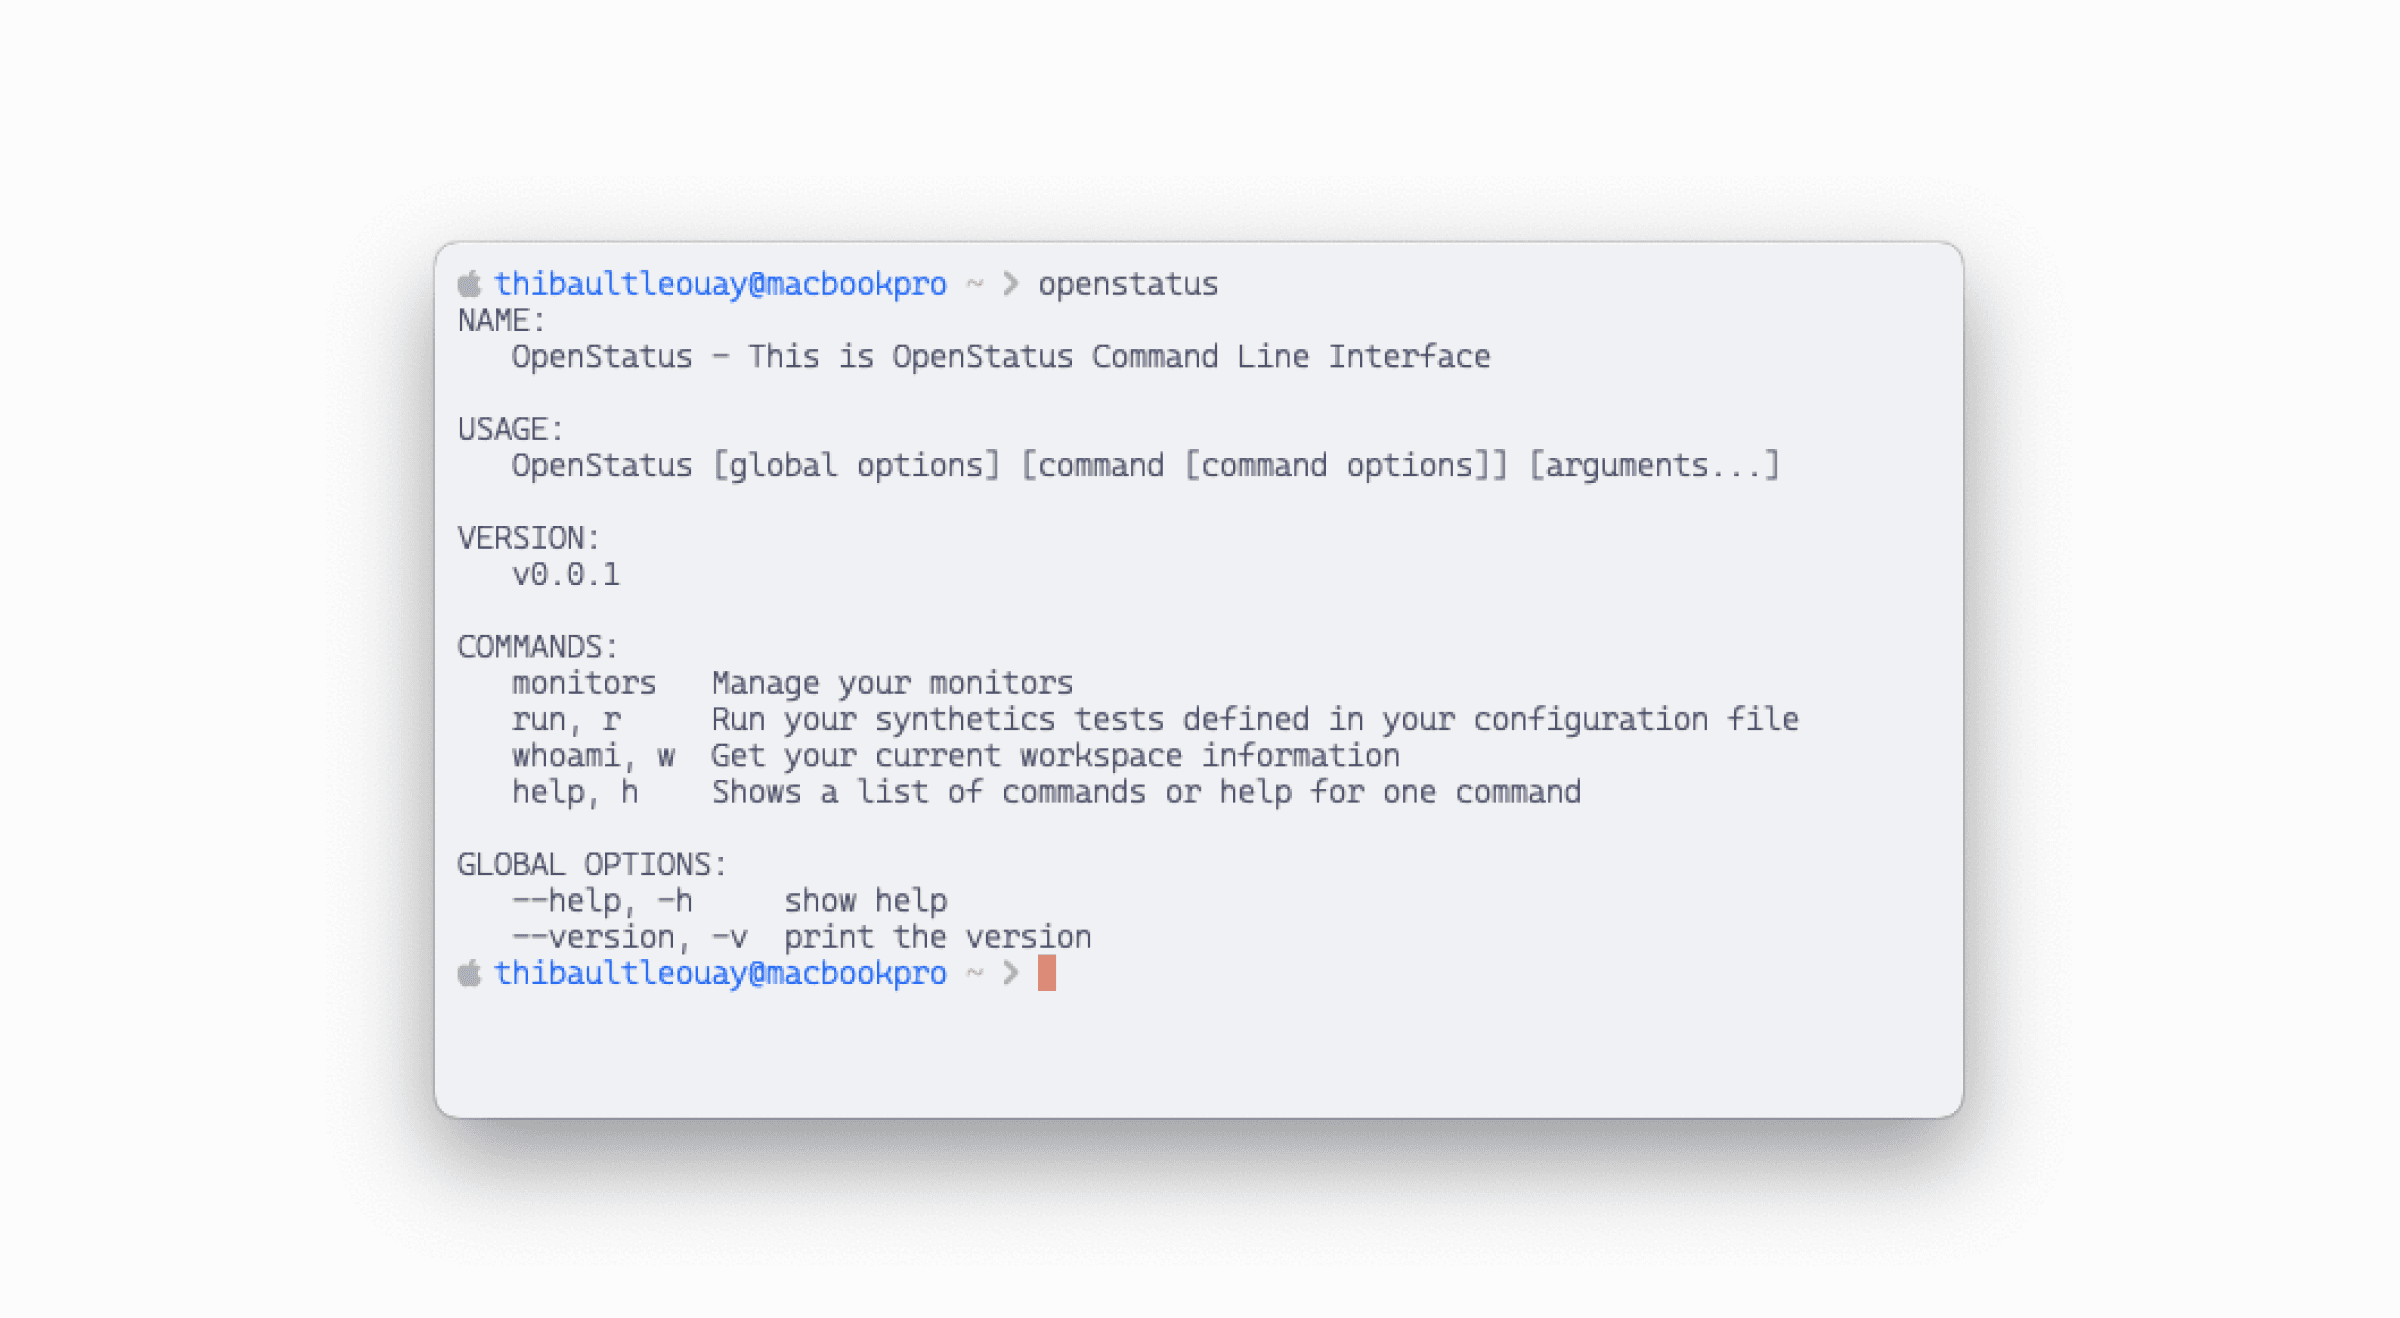
Install the openstatus CLI to manage your monitors directly from code.
macOS
Using Homebrew (recommended):
brew install openstatusHQ/cli/openstatus --cask
Or using the install script:
curl -fsSL https://raw.githubusercontent.com/openstatusHQ/cli/refs/heads/main/install.sh | bash
Linux
curl -fsSL https://raw.githubusercontent.com/openstatusHQ/cli/refs/heads/main/install.sh | bash
Windows
iwr https://raw.githubusercontent.com/openstatusHQ/cli/refs/heads/main/install.ps1 | iex
Verify installation
Run the following command to confirm the CLI is installed:
openstatus --version
You should see output like:
openstatus version x.x.x
Configure API authentication
- In your openstatus dashboard, go to Settings → API Keys.
- Click Create API Key and copy the value — you won't see it again after closing the dialog.
- Make it available to the CLI as an environment variable:
# macOS / Linux
export OPENSTATUS_API_TOKEN=<your-api-token>
# Windows PowerShell
$env:OPENSTATUS_API_TOKEN="<your-api-token>"
Note
Add the export to your shell profile (~/.bashrc, ~/.zshrc, or ~/.config/fish/config.fish) to persist across sessions. You can also pass the token per-command with -t <your-api-token> instead.Note
The CLI readsOPENSTATUS_API_TOKEN. The openstatus SDKs (Node.js, Python, PHP) read the same API key value from OPENSTATUS_API_KEY instead — you can set both to the same value if you use both tools.Import existing monitors
Start by importing your existing monitors from your workspace to a YAML file:
openstatus monitors import
You should see output confirming the import:
Successfully imported X monitors to openstatus.yaml
This creates an openstatus.yaml file containing all your current monitors. This file becomes your single source of truth for monitoring configuration.
Checkpoint: Open the openstatus.yaml file and verify it contains your monitors. You should see entries with your monitor names and URLs.
Manage monitors as code
Now you can add, remove, or update monitors in the YAML file and apply your changes:
openstatus monitors apply
The CLI will show you a diff of changes before applying them, ensuring you're aware of what will be modified.
What you've accomplished
- Installed the openstatus CLI
- Configured API authentication
- Imported monitors to a YAML file
- Learned the monitoring-as-code workflow
Troubleshooting
"command not found: openstatus"
Cause: The CLI binary is not in your PATH.
Fix (macOS/Homebrew):
brew reinstall openstatusHQ/cli/openstatus --cask
Fix (install script): Ensure ~/.local/bin is in your PATH:
export PATH="$HOME/.local/bin:$PATH"
"unauthorized" or "invalid token" error
Cause: Your API token is missing or incorrect.
Fix:
- Verify the token is set:
echo $OPENSTATUS_API_TOKEN - Regenerate the token in your workspace settings (Settings → API)
- Make sure there are no extra spaces or newlines in the token value
"no monitors found" on import
Cause: Your workspace has no monitors, or the token belongs to a different workspace.
Fix: Create at least one monitor in the dashboard first, then retry the import.
What's next
- Monitor your MCP server — example of CLI-based monitor configuration.
- Run synthetic tests in GitHub Actions — automate monitoring in your pipeline.
Learn more
- Monitoring-as-code concept — why manage monitors as code.
- CLI reference — all available commands.
- YAML configuration examples — sample configurations.